
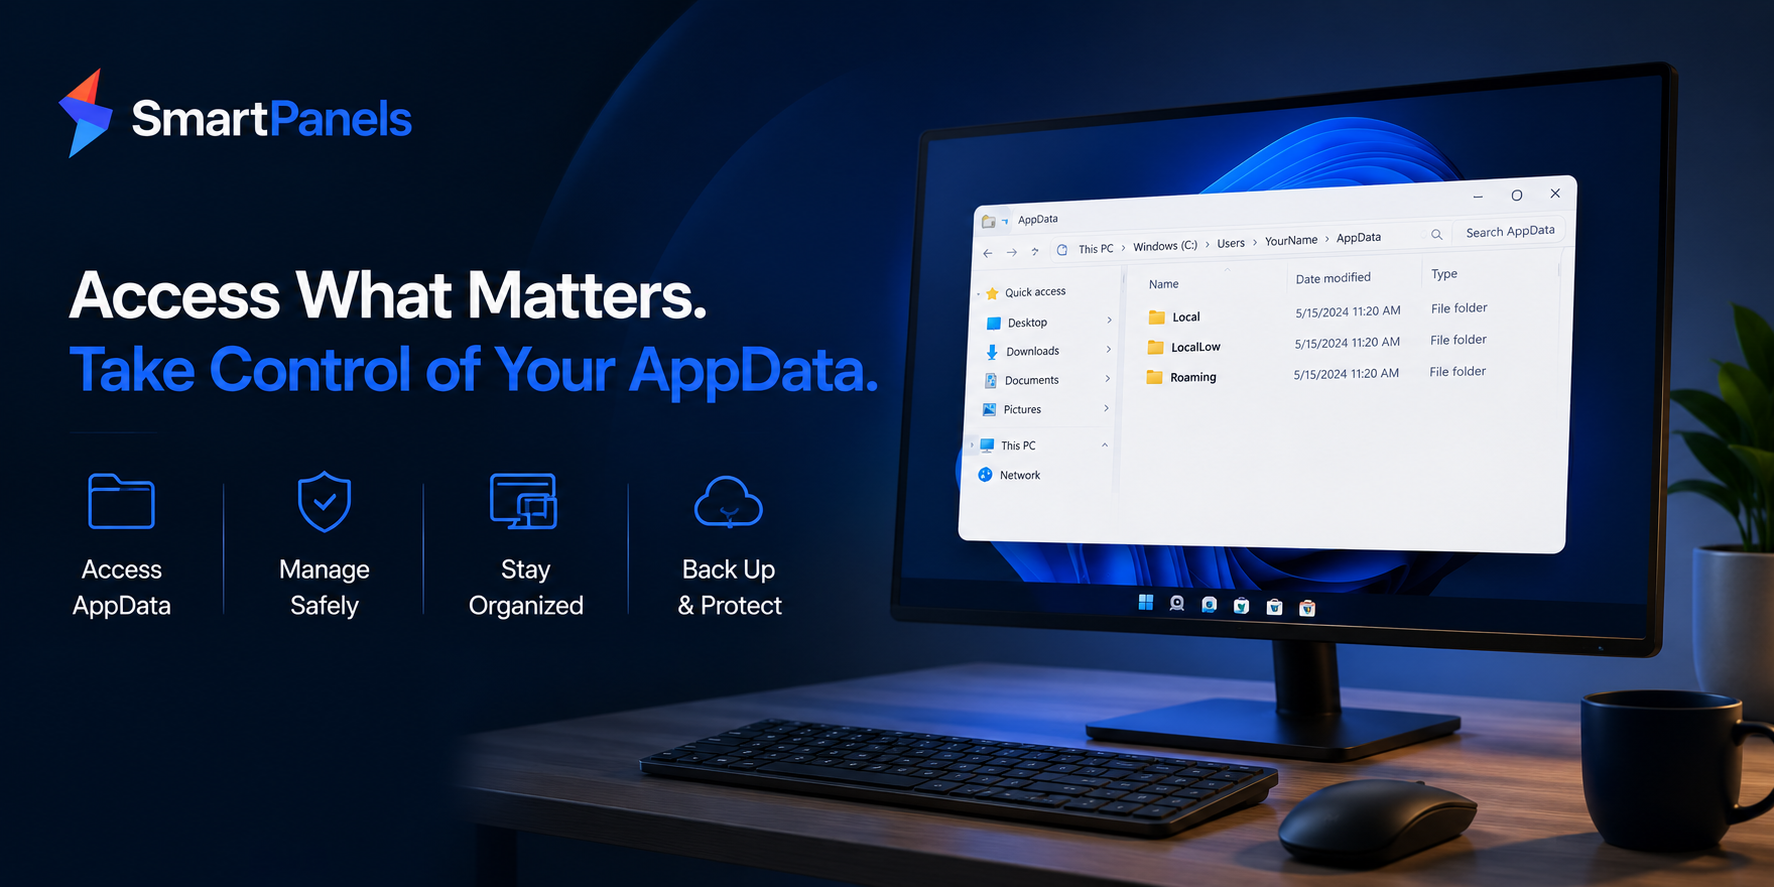
It is not uncommon to come across a folder with the name “AppData” on your PC and be left to wonder at its contents. In fact, most Windows users tend to give that hidden folder a wide berth, but it is doing some important work in the background. The AppData folder is where all the settings are kept ensuring your applications run without a hitch; your browser bookmarks and game files you have put in are just some of the preferences it has stashed away for you in one spot. Learning how to access the AppData folder brings real benefits.
To start with, we will set out what the folder is and the way Windows maps it. From there we demonstrate a few expeditious means of opening it under Windows 10 or 11. We also get into the nitty-gritty of modern trends and safe cleanup, as well as how SmartPanels might figure into your routine.
What Is the AppData Folder?
Every Windows user account contains an AppData folder (for Application Data). Think of it as a kind of private storeroom for your programs. The apps put their settings, caches, profiles, and the like in there, along with any temporary files. That is how your software can recall your preferences when you go to use it.
So, what is AppData folder activity about behind the scenes? Per-user data is kept apart and in order. On a PC that is shared, every account has its own copy of the files so that your settings remain just yours. Because each Windows account maintains its own application settings, understanding how to manage user profiles on Windows 11 can also help when troubleshooting account-specific issues.
Windows will have the folder hidden as a matter of course; there is a sound reason for it, to stop any unintended alterations to the kind of files your applications rely on. That does not mean you cannot get at it, however. Should you need to make a backup or do some troubleshooting, the option is there.
Local, LocalLow, and Roaming Explained
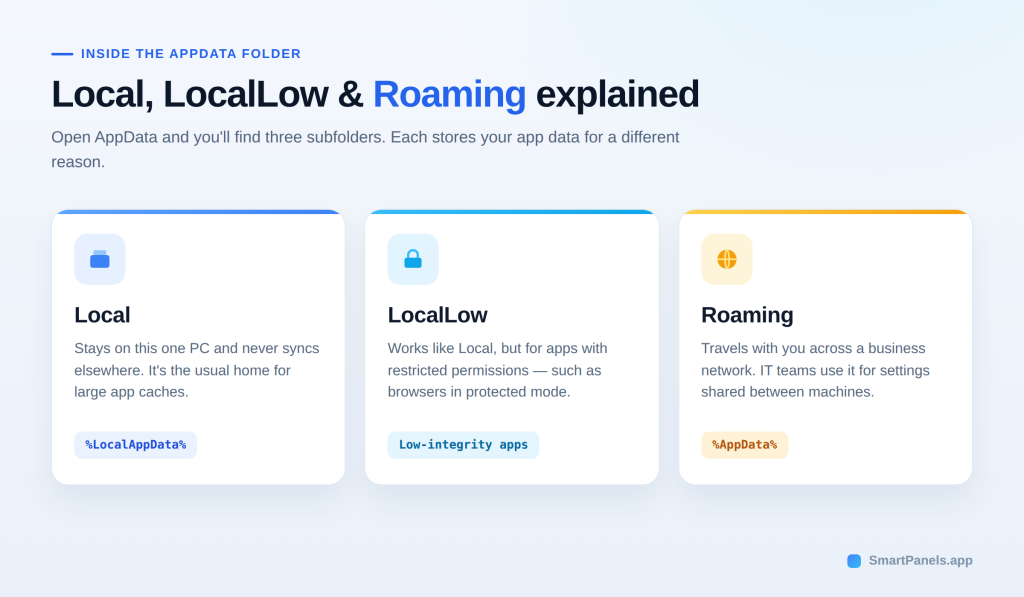
Inside, you will find three subfolders. Here is a quick breakdown:
- Data in the Local folder is confined to a single PC and will not be synced to other devices; it is a common spot for apps to put their sizeable caches.
- Then there is LocalLow, which is much the same as Local in operation but is for applications with restricted security permissions, such as certain browsers running in a protected mode.
- Roaming is where you will find data designed to travel with you on a business network, so IT departments tend to use it for shared settings on the accounts they manage.
How Windows Maps AppData Behind the Scenes
To find these folders, Windows makes use of environment variables. You can think of a variable as a shorthand for the full path; %AppData% is the one for the Roaming folder and %LocalAppData% for the Local.
Underneath are what are known as official markers or “known folders,” which developers put in place to ensure their software will navigate to the proper directory on any machine. The upshot is that even an account rename will not cause an app to fail.
It is also the reason for a frequent point of confusion: running %AppData% will take you to Roaming rather than the root. If one wants to see for oneself, it only takes a few seconds. Fire up a Command Prompt and enter “echo %AppData%”, and Windows will display the precise Roaming location. Do the same with `echo %LocalAppData%`, and the Local path comes up. Such a quick verification is useful when a reference gives nothing more than the variable.
How to Access the AppData Folder Quickly
Now for the practical part. These steps show you how to access the AppData folder on any PC. Below, we cover the fastest options first. Each method works on both Windows 10 and 11.
Method 1: Use the Run Dialog
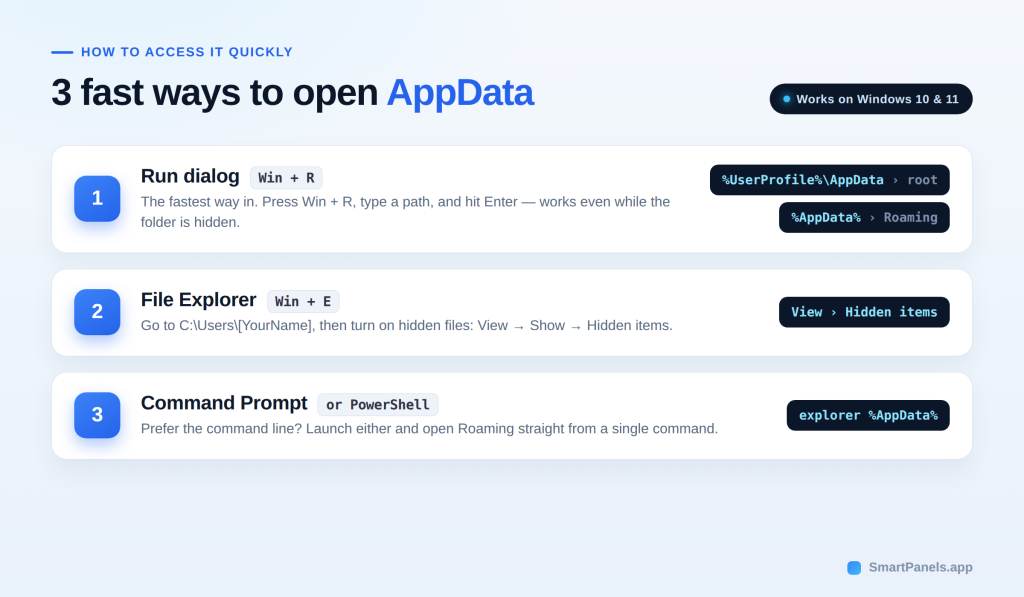
For the fastest way in, use the Run box. Hold down the Windows key and hit R, enter a command of your choosing, and you can press Enter. To get to the top level, put in %UserProfile%\AppData; that will bring up the main folder and its three subfolders. If one wants to go directly to Roaming, %AppData% does the job, as does %LocalAppData% for the Local folder.
There is a point to be made about the %AppData% entry: it takes you to Roaming rather than the root. Should you need to step up a level, a click on “AppData” in the address bar will do it. The nice thing is this works regardless of the folder being hidden.
Method 2: Show Hidden Files in File Explorer
For those who would rather do a manual search, you can use File Explorer to get to the AppData files. Start by hitting Windows and E to bring up a window and make your way to C:\Users\[YourUsername]. You will have to unhide some items depending on which version is in use.
If running Windows 11, select Hidden items from the Show option under View. With Windows 10, it is a matter of going to the View tab and putting a check in the box for Hidden items. The folder will then be visible in the user directory, albeit with a fainter look. A double-click is all it takes to see what is inside.
Method 3: Use the Address Bar, Command Prompt, or PowerShell
If File Explorer is up and running, one can simply click on the address bar and put in %UserProfile%\AppData before hitting Enter. The bar will take %AppData% or %LocalAppData% as well.
For those who prefer the Command Prompt, there is an alternative: open it and enter explorer %AppData% to have the Roaming folder appear. PowerShell will handle the command in much the same way. Windows has no shortage of ways to accommodate how you like to work.
Where Microsoft Store Apps Hide Their Data
Data is not stored in a uniform fashion by all applications. Take the modern offerings from the Microsoft Store, for instance; they are built on an MSIX format and operate within a light container to enhance security. Windows will divert any AppData writes from such an app to a private spot, which one can locate in the Packages subfolder of Local (C:\Users\[YourUsername]\AppData\Local\Packages). There, every app has a folder bearing its package family name.
Within that you will see a LocalCache containing the Roaming and Local data that has been redirected. The point of this setup is to ensure isolation so that an app has no access to the files of another. It also means uninstalling a Store app is a tidy process, with Windows erasing the folder in question. Should you need to track down a particular package, a quick Get-AppxPackage command in PowerShell will give you the package family names.
The same principle applies to the registry. A packaged app is given its own virtual view of it, meaning its activity seldom affects the system at large. This approach minimizes clutter and conflict when the time comes to remove the software. In the end, these newer apps are much better at cleaning up after themselves.
Why Managing the AppData Folder Matters
Opening the folder is only half the story. Knowing how to access the AppData folder is a great start, yet managing it well matters more. A well-run system is a matter of good management, one that safeguards your storage and data alike. You will find that applications have a way of accumulating caches and logs in this folder over time, and before long it can become quite sizable. There are programs that will unobtrusively put down several gigabytes of detritus. While a routine check is necessary to ensure the system runs without a hitch, it is not just about cleaning house; how you handle things with care is of equal import. Managing unnecessary application caches is one part of system maintenance; you can also explore these ways to improve Windows 11 performance and keep your PC running smoothly.
- Back Up Your App Data Safely
Should your PC give out, a backup is what will safeguard your settings. There is no need to make a copy of the whole system; concentrate instead on the folders that matter. Browser profiles, game saves, and the like are good candidates for this.
To do it, open the folder in question by one of the means described above and copy over the subfolders you want. From there, put them on an external hard drive or in the cloud. It would be wise to put a reminder in your calendar to do so every few weeks or so; that way you can be sure of having an up-to-date version at hand.
- Clean Up Without Breaking Things
There is value in a good cleanup, but it is the exercise of caution that will keep your applications in good standing. Do not go about deleting the whole of the AppData folder; both Windows and the software you run have a need for it. The better course of action is to let the Disk Cleanup utility do its work on any temporary files that are safe to discard, or to clear out what is in the Temp folder under Local. You might also want to get rid of any folders left behind by programs you have uninstalled.
Alongside removing unnecessary temporary files, these tips can help you improve your PC’s performance without relying on risky manual changes. For a more detailed walkthrough, follow our guide on how to clean the AppData folder safely in Windows 11 without removing files your applications need.
- Move Bloated Folders the Safe Way
It is not uncommon for one cache folder to bloat to several gigabytes. An advanced user might elect to relocate it to a different drive to keep the apps running as they should. The way to do it is with a junction, a sort of special link from one folder to another. Start by copying the folder in question over to your other drive. Next, put in place a junction via the mklink /J command that Windows provides; this will let the application continue to reference the old path. But be sure to make a backup and take your time. And under no circumstances should you try to move the entire folder in this manner, as Windows has a need for it.
Where SmartPanels Fits into Your Workspace
Think of it this way: the AppData folder and SmartPanels are at odds with one another in their function. The former is where Windows 11 keeps your app’s insides—settings, caches, and tokens. For those who have upgraded from Windows 10, you will find the new AppData folder in its usual place.
SmartPanels is concerned with the arrangement of things. It is what puts your browser tabs and window positions back in order, restoring them in a matter of seconds and one click. If you are working on multiple screens, the software can accommodate as many as six displays. There is also support for hotkeys to get to a workspace without delay, and should you wish to pass a profile along to a colleague over email, that is an option as well. If you want to bring your apps and windows back into position without manually rebuilding your desktop, see how to restore your entire workspace in one click.
Beyond storing application settings, Windows also lets you adjust how apps appear on your screen; see how to customize app display preferences for a more comfortable working environment
In short, let AppData look after the data while SmartPanels takes care of your workflow. Tired of having to put your desktop back together each morning? Sign up for a free trial over at SmartPanels.app and have your workspace up and running right away. For users who regularly work across several applications, learning how to remember window sizes and positions can make it easier to return to a familiar desktop setup.
Final Thoughts
Managing your files does not have to feel confusing. Once you know how to access the AppData folder, you gain real control over your Windows experience.
Consider an upgrade to be the right time for a bit of housekeeping. Clear out the old caches to free up space and back up your important settings. You should be cautious with the folder, though, as the apps depend on it. In most cases you will want to back up subfolders individually rather than the whole directory.
Organization is another thing to attend to. While AppData is concerned with app settings, SmartPanels gives you a view of the larger workspace layout that the other cannot. It can put your monitors, tabs, and windows where they belong in seconds, sparing you the chore of putting everything in order every day.
For those who prefer to work smarter, there is a 14-day trial available at no charge from SmartPanels. A good way to get a firm grip on both your data and your desktop. 2